Easy Painting!
Dear friends,
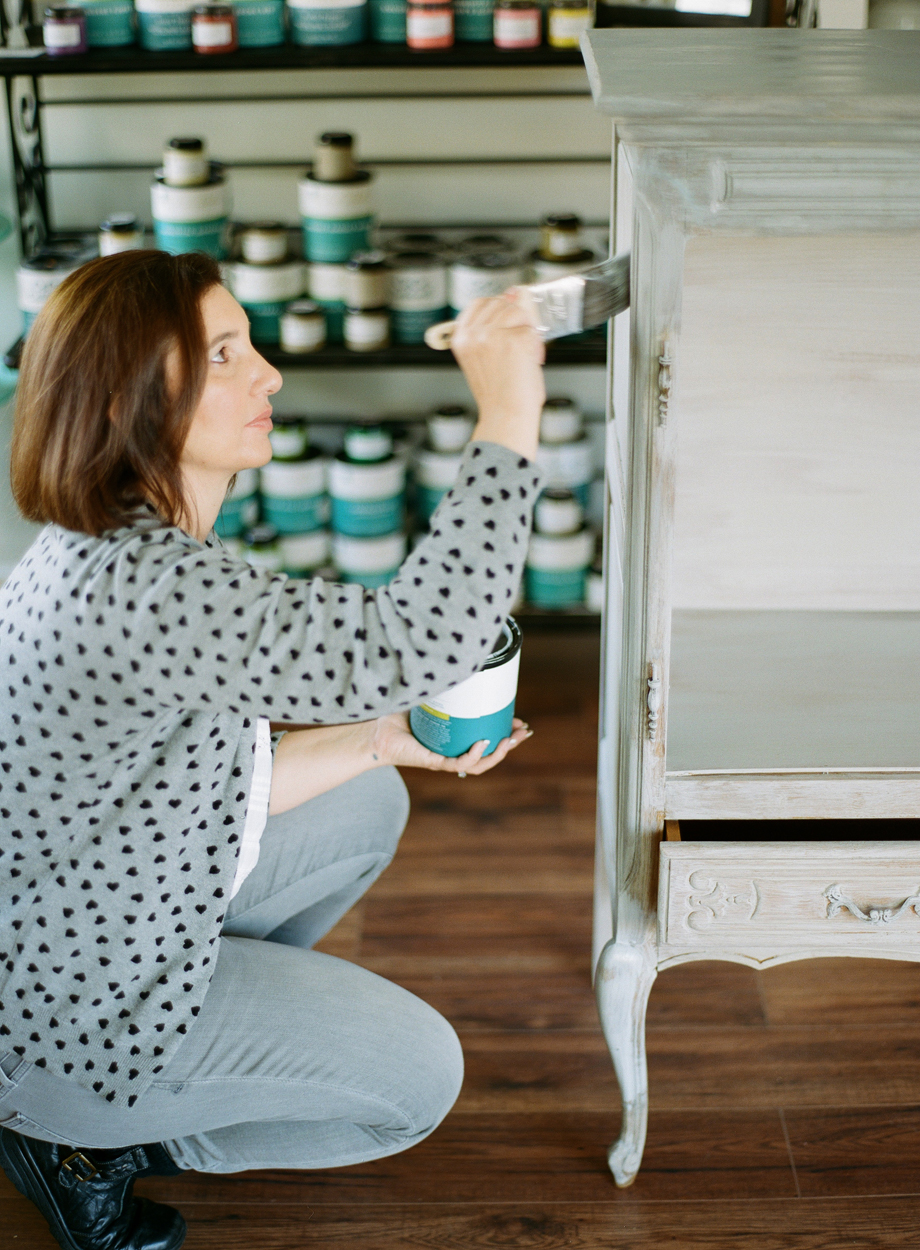
I am always so happy to explain how to paint with Cece Caldwell’s Chalk and Clay Paints, and I thought you would appreciate a simple step by step post to refer to!
So here are the BASIC steps!
First, clean your piece of furniture. I use a damp paper towel, and sometimes Windex. I used to clean it with TSP but no longer do that. Make sure you clean underneath your piece, you never know what you will find there!

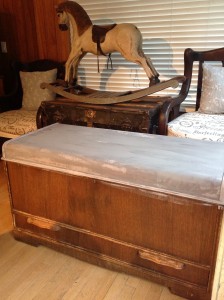
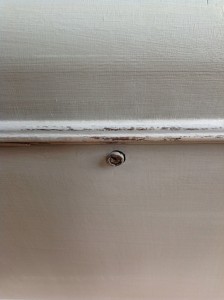
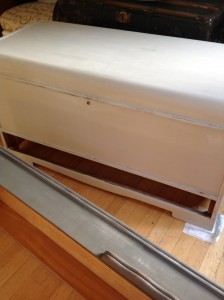
I love this old cedar chest, but it has seen better days! The inside is intact and still has the key! This is a perfect project for Cece Caldwell’s Paints!
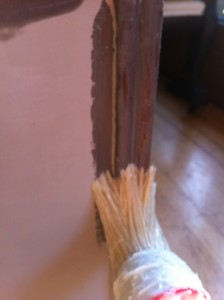
You don’t need to sand or prime. Just shake your can of paint very well, and dip the brush right in the can!
I give it two coats, normally. You can do only one coat, and distress it. I prefer a full coverage.
The paint DRIES QUICKLY. This means once you paint it, don’t “fiddle” with it too much. I notice in my workshops clients want to keep painting. The paint gets tacky because it is drying fast, so my advice is to paint in sections, and deal with the imperfections on your second coat.
Here you can see the paint is already drying in a few parts. Cece Caldwell’s Paints dry lighter, then the colour gets deeper after the finish is applied.
This is very quick. I paint a first coat and let it dry. I go around the house doing other stuff, I don’t even notice the time pass. I check to make sure it is all dry. It is easy because the dry paint is lighter.
So now you can add your second coat! You can dip your brush in water to get a smoother finish, if you don’t like brush marks. All these little steps you can do when you are more experienced, too. I just want you to have a guide for your first painted furniture!
Again, work a bit fast or in sections. Don’t go over drying paint, because you will get some unpleasant effect (LOL).
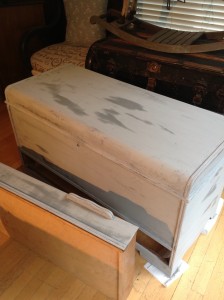
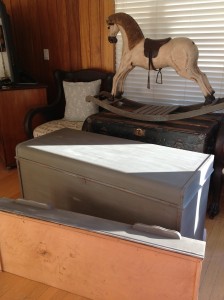
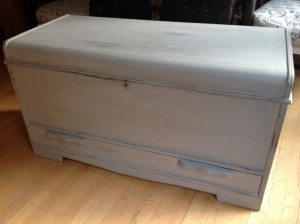
This is after the second coat. I chose Seattle Mist for this chest. I just love it…
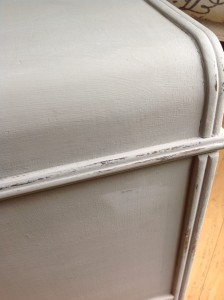
So after the second coat is dry, use a damp cloth and DISTRESS the edges a bit. You don’t need to distress your piece, it is up to you. I am a “conservative distresser” (haha), so I just go around the edges, and rub the wet cloth a bit to show the wood underneath. This is my favourite part!!!
Don’t worry if you make mistakes.
If you distressed too much, just paint it again!
Going around with a wet cloth can also smooth some brush marks you might have left too obvious, or if you are using two colours, you can distress to show the colour underneath and not the wood (or both). I prefer to do this in daylight close to the window.
If you left drops of paint (it happens, specially when you are a beginner), you can sand them down with a sand paper or sand block.
After I distressed with a wet cloth, I wait until everything is dry again so I can wax it!
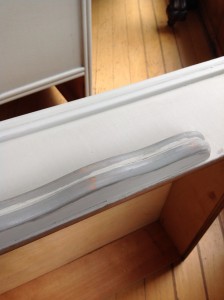
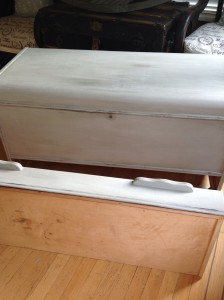
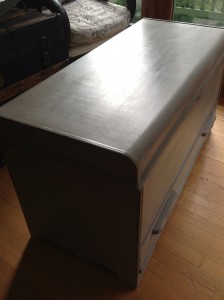
Here you can see I waxed the drawer and the colour got deeper again.
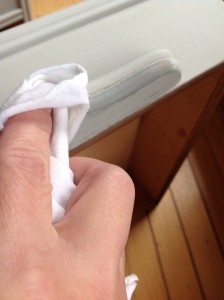
You will need to wax fast, again in sections. I use a brush but you can use a rag or even paper towel. You can use any brush you have, as long as it is new, because I think the wax might pick up pigments from whatever you used before. I use Cece Caldwell’s Clear Wax, which is my favourite. It is totally natural, so no smells. You dip your brush in the wax and spread on the furniture, doing it fast so it doesn’t look all “blotchy”. I hope this makes sense!
It is easier with smaller pieces. This trunk is big, so I had to work hard on the lid to get it covered fast, then wipe it with a paper towel to take the excess of wax off. The sides were much easier. Wax with the brush, wipe it. Leave it alone. It will start drying fast, too. A few tips for waxing: do it fast. Don’t rub back and forth. Try to keep it in one direction. You can go back and forth ONCE but don’t keep doing it. Take sections, like I did. The lid, the sides, the front. I waxed each part and wiped it, before going onto the next.
It starts drying immediately, you can see the lighter spots already.
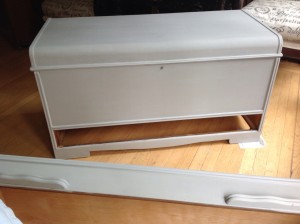
I let it dry overnight, and here is how it looks now.
Then I buffed with a soft cloth, like an old sweater, you know?? It is hard to show in the photos, but once you buff it, the finish gets shiny. Not too shiny, but you can see the difference.

I love this trunk! I think is the perfect example of a worn down piece of furniture that can get a facelift and live for another 50 years in someone’s home!
This is just ONE technique, a very simple one. You can layer colours and finishes, once you get more comfortable with the basics!
Please don’t hesitate to ask me questions here or on my Facebook page!
Happy Painting!
Claudine